개요
우아한테크코스 교육에서 사용하고 있는 회의실 예약 프로젝트 찜꽁의 SSL 인증서를 Letsencrypt로 발급받고 있는데 3개월마다 만료가 되는 무료 인증서이기 때문에 만료시기가 다가올 때마다 개인메일로 인증서를 갱신해달라는 안내가 온다. (지난번에는 이 안내 메일을 무시했다가 두시간정도 교육생들의 회의실 예약을 수기로 했었다…)
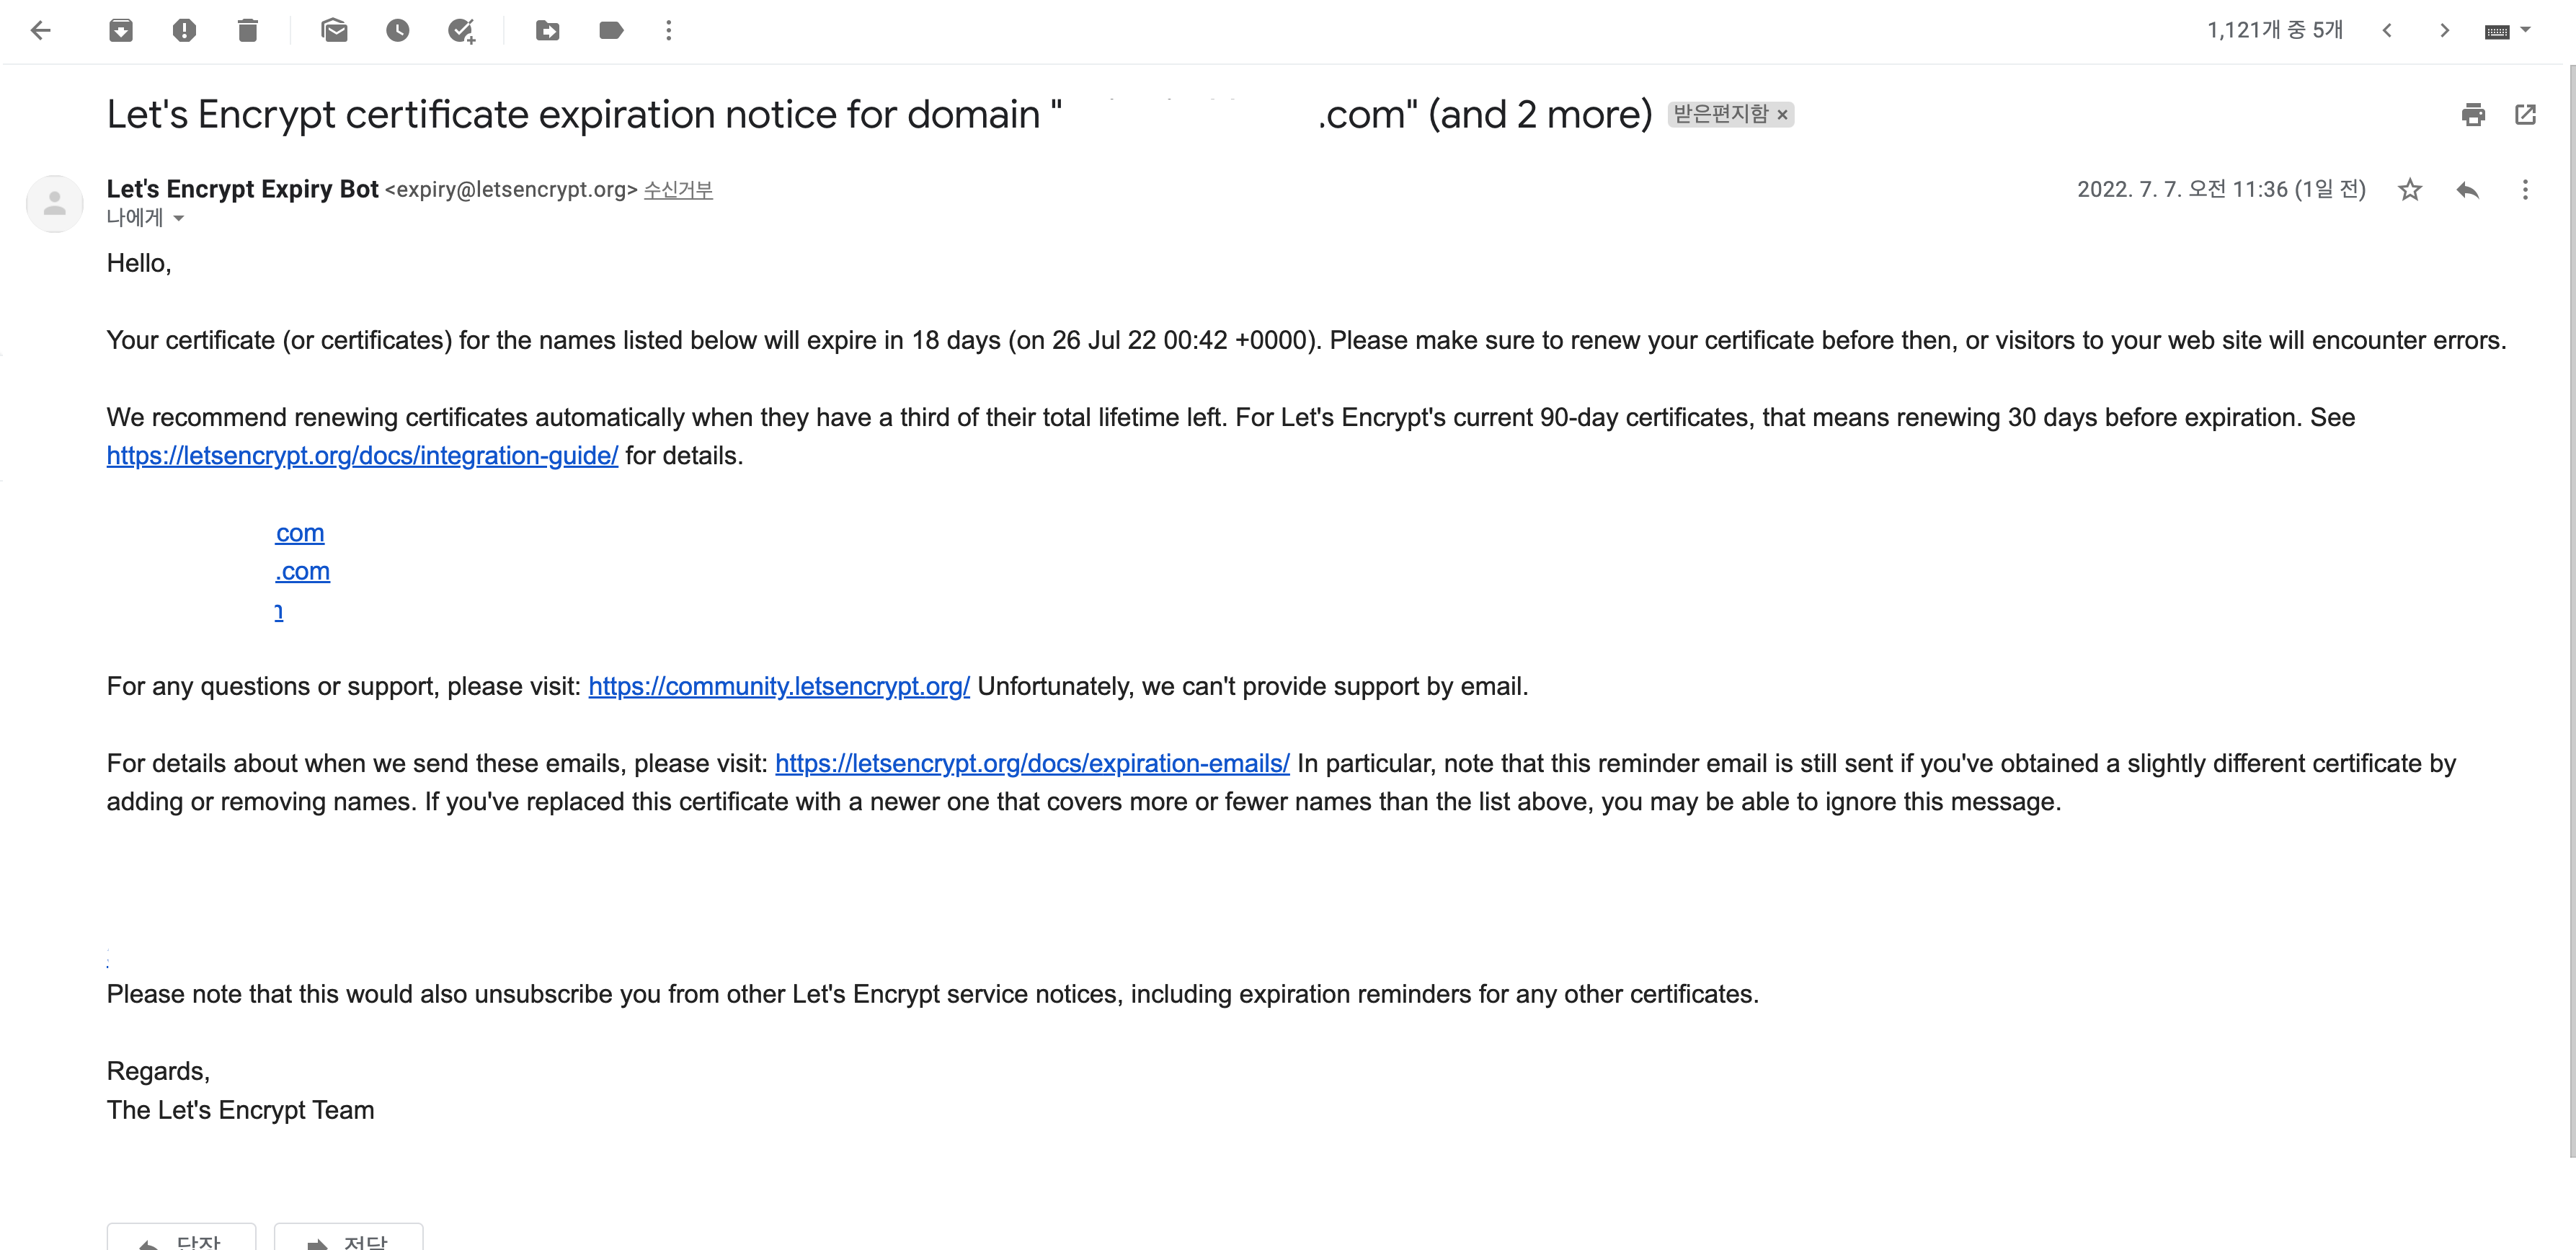
3개월마다 이 작업을 해주고 있는데 아무래도 사용자가 있는 서비스이기 때문에 되도록 교육생들이 제일 이용을 안 할 것 같은 주말 저녁에 작업을 했었다. 하지만, 사람의 기억력이라는 게 3개월이라는 주기를 넘기지 못하는지 매번 작업을 할 때마다 어떻게 했었는지 기억이 가물가물해서 글로 정리해두려고 한다. 혹은 내가 아닌 다른 팀원들이 작업할 경우에 좋은 가이드가 될수도! (그리고 만약 자동 갱신이 가능하다면 자동 갱신을 도전해보려고 한다.)
먼저 인증서 갱신작업을 시작하기 전에 작업 후 인증서가 잘 갱신되었는지를 비교하기 위해 현재 인증서의 정보를 확인해준다.
$ sudo certbot certificates
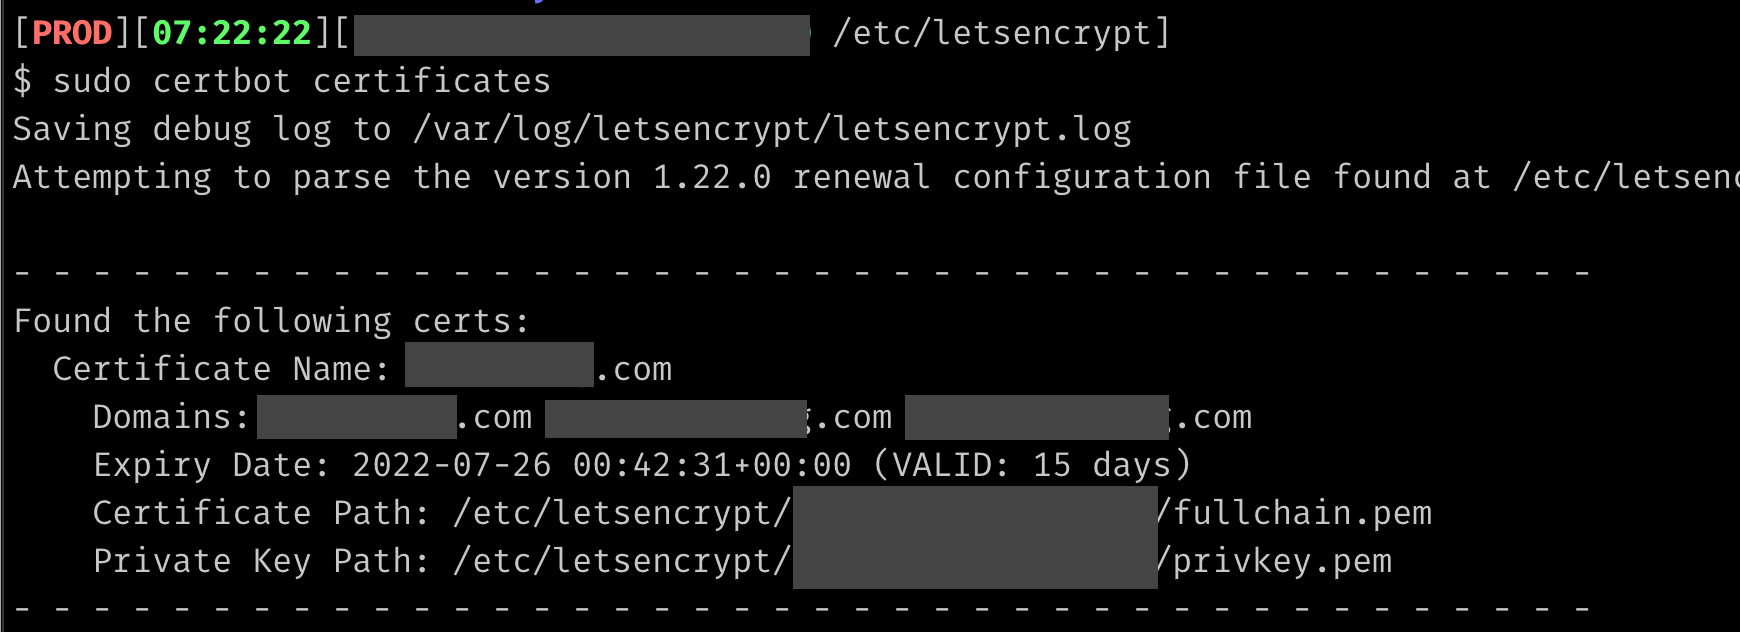
만료일자가 오늘 날짜 기준 15일 남은 것을 확인할 수 있다.
인증서 자동 갱신방법
Letsencrypt로 발급받은 인증서를 갱신하는 방법은 매우 간단하다.
$ sudo certbot renew --dry-run
--dry-run 옵션을 주고 위의 명령어를 실행하면 실제로 갱신을 하는 것이 아니라 갱신을 시도했을 때 에러가 발생할지 아닐지를 미리 알아볼 수 있다.
위의 명령어를 먼저 실행해보고 에러가 발생한다면 에러를 해결해준 다음, 성공이 나올 때까지 확인보면 된다.

정상적으로 성공했다는 안내가 나오면 --dry-run 옵션을 빼고 명령어를 입력해주면 된다.
$ sudo certbot renew
인증서 수동 갱신방법
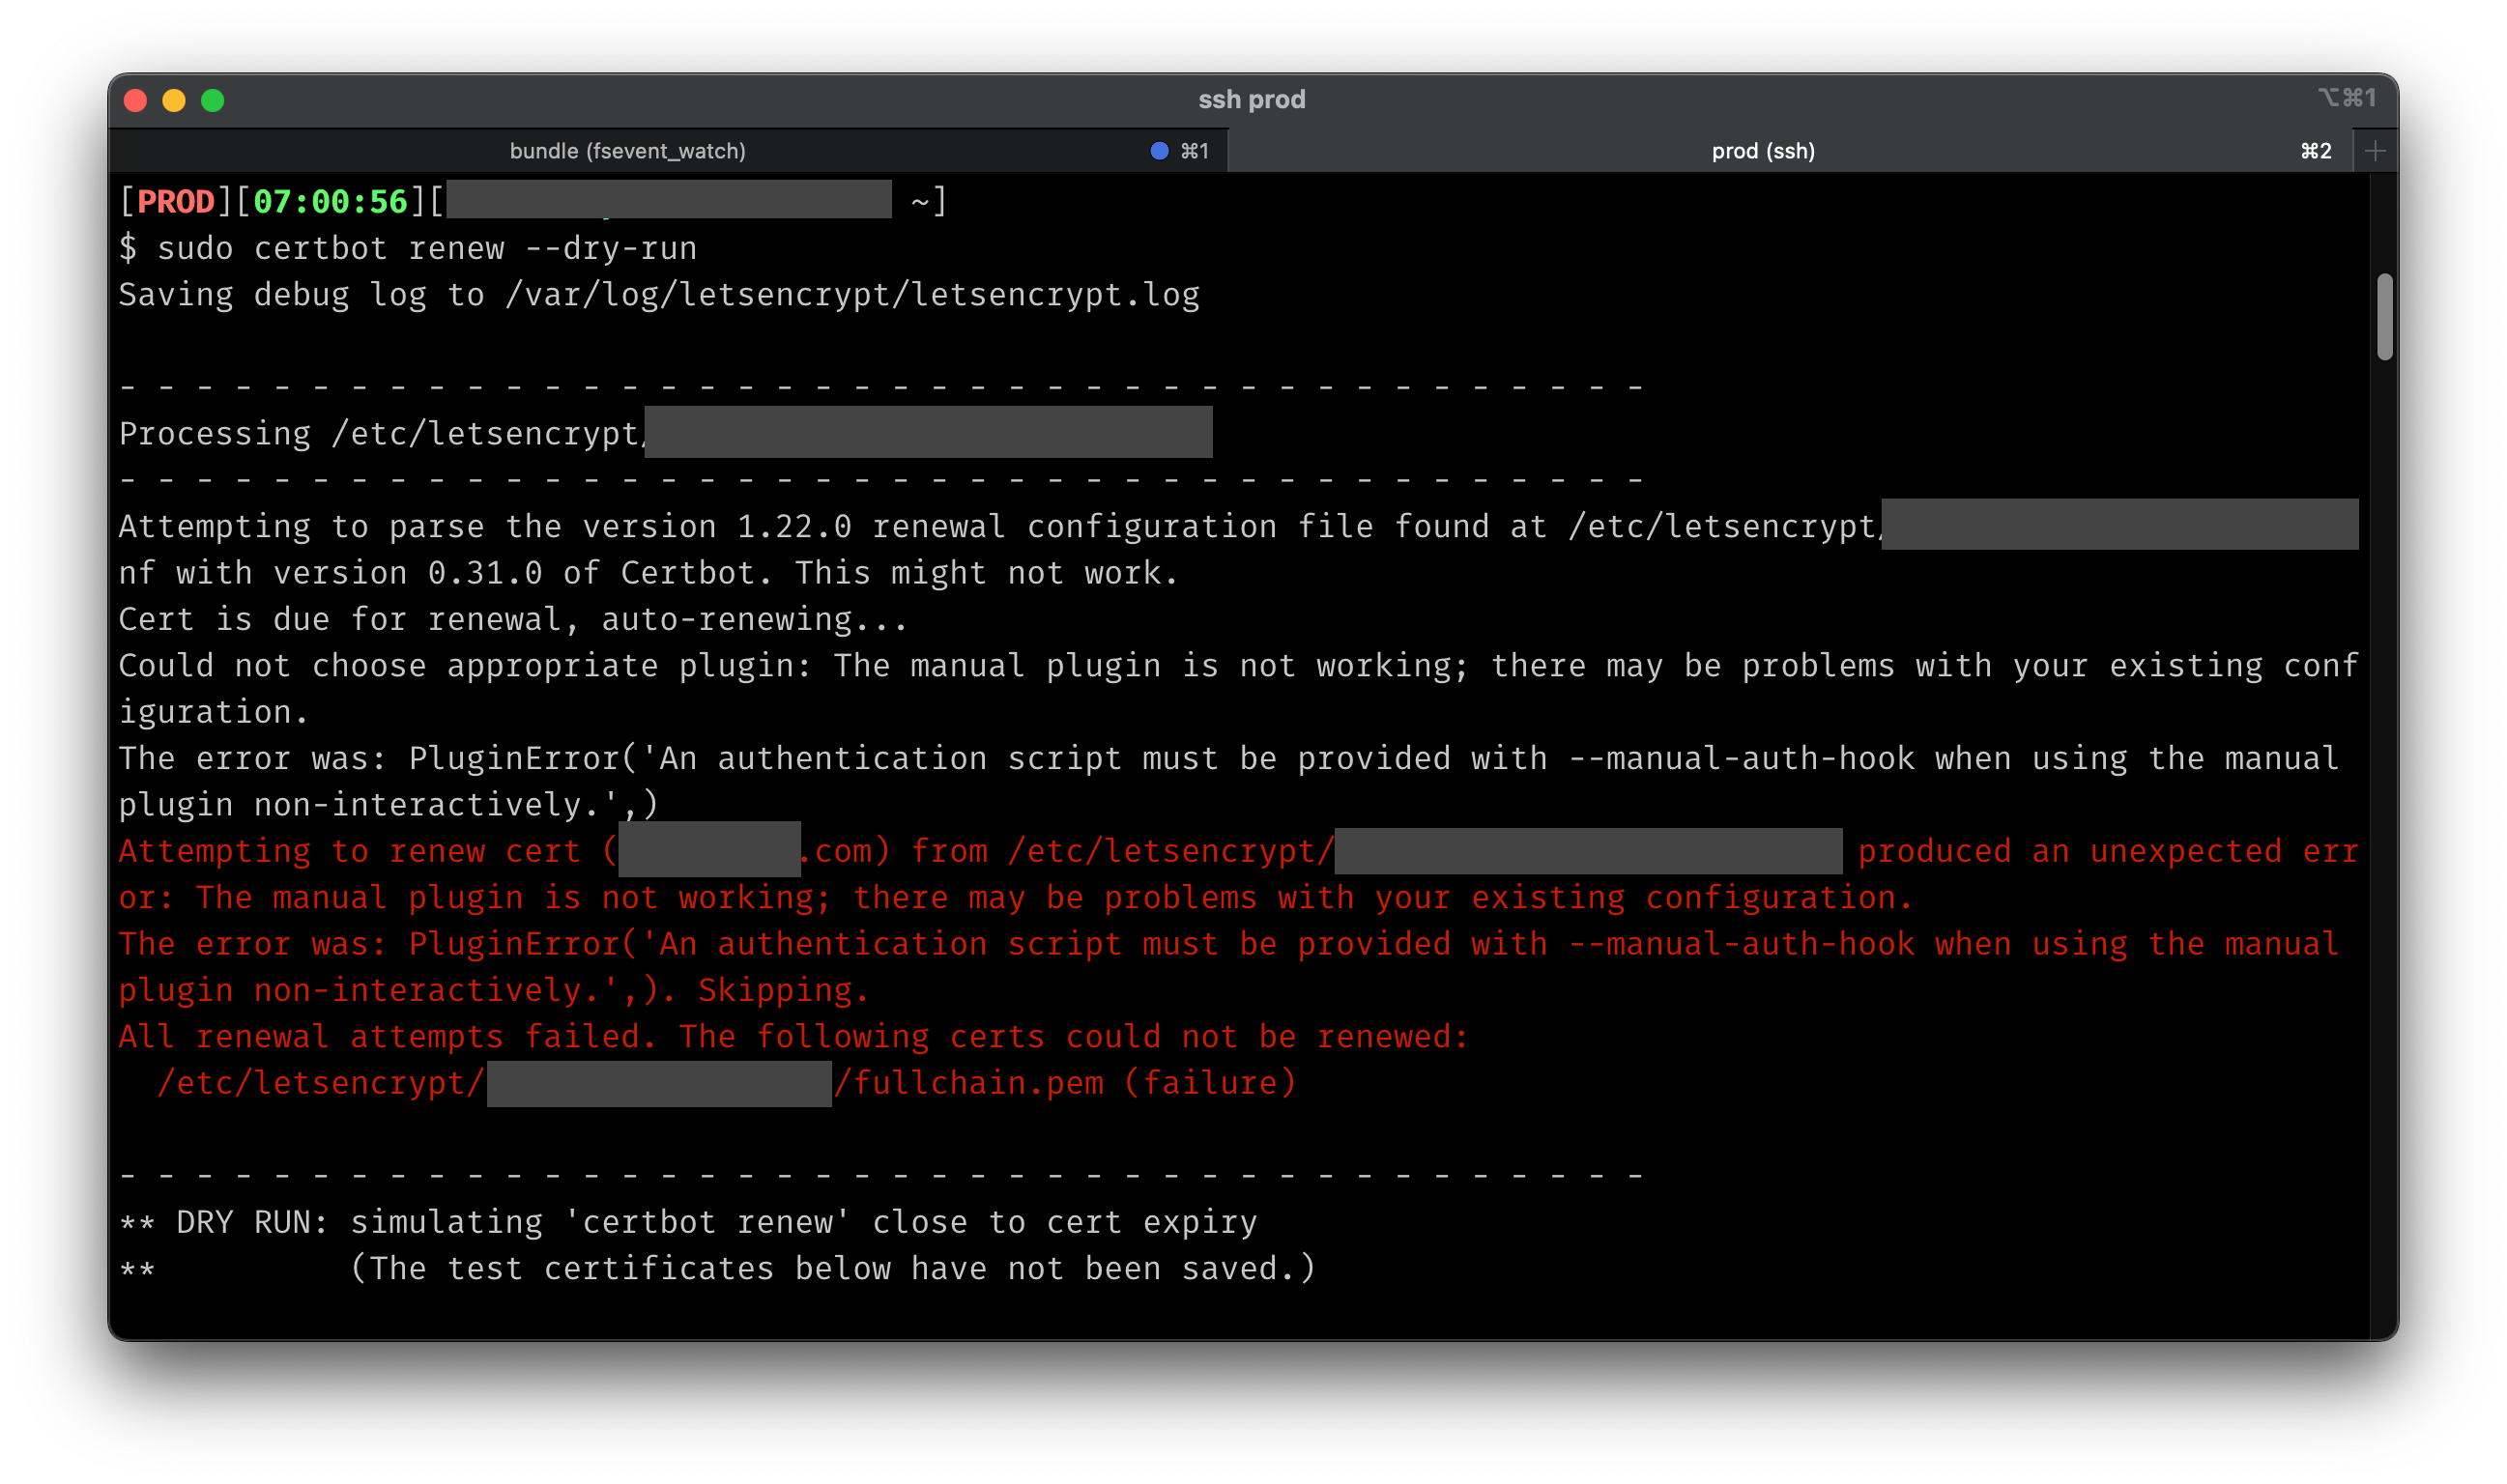
Attempting to parse the version 1.22.0 renewal configuration file found at /etc/letsencrypt/xxx.com.conf with version 0.31.0 of Certbot. This might not work.
Cert is due for renewal, auto-renewing...

Could not choose appropriate plugin: The manual plugin is not working; there may be problems with your existing configuration.
The error was: PluginError('An authentication script must be provided with --manual-auth-hook when using the manual plugin non-interactively.',)

Attempting to renew cert (xxx.com) from /etc/letsencrypt/xxx.com.conf produced an unexpected error: The manual plugin is not working; there may be problems with your existing configuration.
The error was: PluginError('An authentication script must be provided with --manual-auth-hook when using the manual plugin non-interactively.',). Skipping.
All renewal attempts failed. The following certs could not be renewed:
  /etc/letsencrypt/xxx.com/fullchain.pem (failure)
하지만, 안타깝게도 찜꽁은 wildcard certificate (*.test.com) 을 사용하는 상황이었고 이 경우는 인증서를 발급받는 과정에서 --manual 옵션을 사용한다. 그리고 이 --manual 옵션을 사용하면 DNS 검증을 위해 도메인 사이트에 TXT 레코드를 추가하는 과정이 있는데 (참고) 이 때문에 위에서 소개했던 명령어를 통한 인증서 자동 갱신이 불가능하다. (혹시나 이 경우에 사용할 수 있는 자동갱신 방법에 대해 아시는 분은 댓글주세요….)
그렇다면 어쩔 수 없이 인증서를 발급받았던 과정을 참고해 인증서를 수동 갱신해보자.
$ docker run -it --rm --name certbot \
  -v '/etc/letsencrypt:/etc/letsencrypt' \
  -v '/var/lib/letsencrypt:/var/lib/letsencrypt' \
  certbot/certbot certonly -d 'zzimkkong.com' -d 'aaa.zzimkkong.com' -d 'xxx.zzimkkong.com' --manual --preferred-challenges dns
메인 도메인 (zzimkkong.com)과 엮어줄 서브도메인들을 -d 옵션을 이용해 입력해준다. 나의 경우, 3가지 도메인을 엮어줄 것이기 때문에 TXT 레코드를 입력해달라는 안내가 총 3번 나오게 된다. TXT 레코드가 반영되는 시간이 좀 걸리기 때문에 3번 모두 일단 엔터를 입력해 마지막 안내가 나올 때까지 넘겨주고 한 번에 레코드를 입력해 반영된 것을 확인해주는 것이 편하다.
- - - - - - - - - - - - - - - - - - - - - - - - - - - - - - - - - - - - - - - -
Please deploy a DNS TXT record under the name:

_acme-challenge.aaa.zzimkkong.com.

with the following value:

IGxxxxxxxxxxxxxxxxxxxxxxxxxxxxxx

- - - - - - - - - - - - - - - - - - - - - - - - - - - - - - - - - - - - - - - -
Press Enter to Continue

- - - - - - - - - - - - - - - - - - - - - - - - - - - - - - - - - - - - - - - -
Please deploy a DNS TXT record under the name:

_acme-challenge.xxx.zzimkkong.com.

with the following value:

spxxxxxxxxxxxxxxxxxxxxxxxxxxxxxxx

(This must be set up in addition to the previous challenges; do not remove,
replace, or undo the previous challenge tasks yet. Note that you might be
asked to create multiple distinct TXT records with the same name. This is
permitted by DNS standards.)

- - - - - - - - - - - - - - - - - - - - - - - - - - - - - - - - - - - - - - - -
Press Enter to Continue

- - - - - - - - - - - - - - - - - - - - - - - - - - - - - - - - - - - - - - - -
Please deploy a DNS TXT record under the name:

_acme-challenge.zzimkkong.com.

with the following value:

Wfxxxxxxxxxxxxxxxxxxxxxxxxxxxxxxx

(This must be set up in addition to the previous challenges; do not remove,
replace, or undo the previous challenge tasks yet. Note that you might be
asked to create multiple distinct TXT records with the same name. This is
permitted by DNS standards.)

Before continuing, verify the TXT record has been deployed. Depending on the DNS
provider, this may take some time, from a few seconds to multiple minutes. You can
check if it has finished deploying with aid of online tools, such as the Google
Admin Toolbox: https://toolbox.googleapps.com/apps/dig/#TXT/_acme-challenge.zzimkkong.com.
Look for one or more bolded line(s) below the line ';ANSWER'. It should show the
value(s) you've just added.

- - - - - - - - - - - - - - - - - - - - - - - - - - - - - - - - - - - - - - - -
Press Enter to Continue
이렇게 Before continuing, verify the TXT record ~ 라는 안내가 나오면 마지막 안내라는 뜻이므로 여기서 엔터를 멈추고 안내해주는 링크에 들어가 새로 입력해준 TXT 레코드 값이 반영될 때까지 새로고침을 하며 기다려준다.

TXT 는 도메인을 구매했던 사이트에서 도메인 관리를 통해 위와 같이 3개의 레코드를 추가해주면 된다.
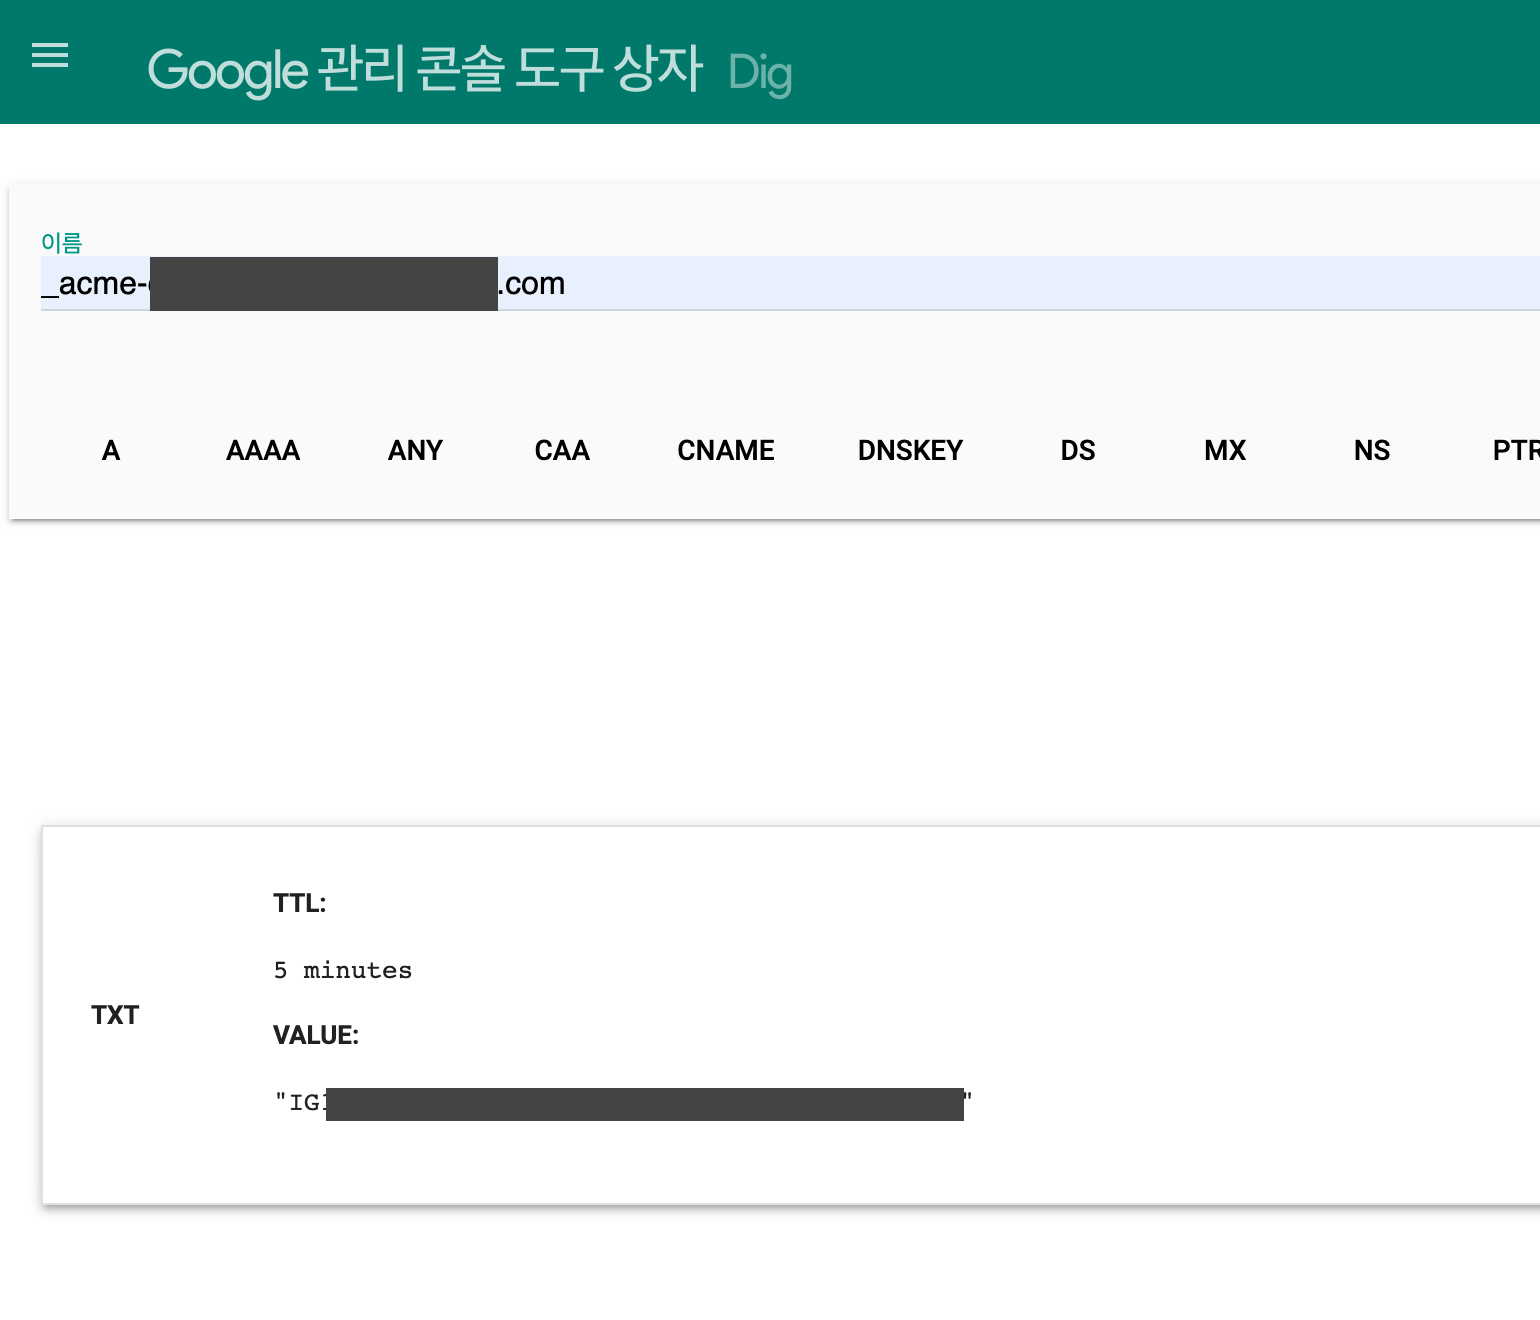
새로운 TXT 레코드 값 3개가 모두 잘 반영이 되었다면 엔터를 눌러 다음 단계를 진행한다. Successfully received certificate가 나오면 인증서가 정상적으로 잘 발급된 것이다.
Successfully received certificate.
Certificate is saved at: /etc/letsencrypt/xxx.com/fullchain.pem
Key is saved at:         /etc/letsencrypt/xxx.com/privkey.pem
This certificate expires on 2022-10-08.
These files will be updated when the certificate renews.

NEXT STEPS:
- This certificate will not be renewed automatically. Autorenewal of --manual certificates requires the use of an authentication hook script (--manual-auth-hook) but one was not provided. To renew this certificate, repeat this same certbot command before the certificate's expiry date.
이제 nginx를 재시작해서 새로운 인증서를 적용해주자.
$ sudo service nginx restart
$ sudo service nginx satus // nginx 상태 확인
인증서 갱신 확인
마지막으로 인증서가 잘 갱신되었는지 확인하기 위해 인증서 정보를 확인해준다.
$ sudo certbot certificates
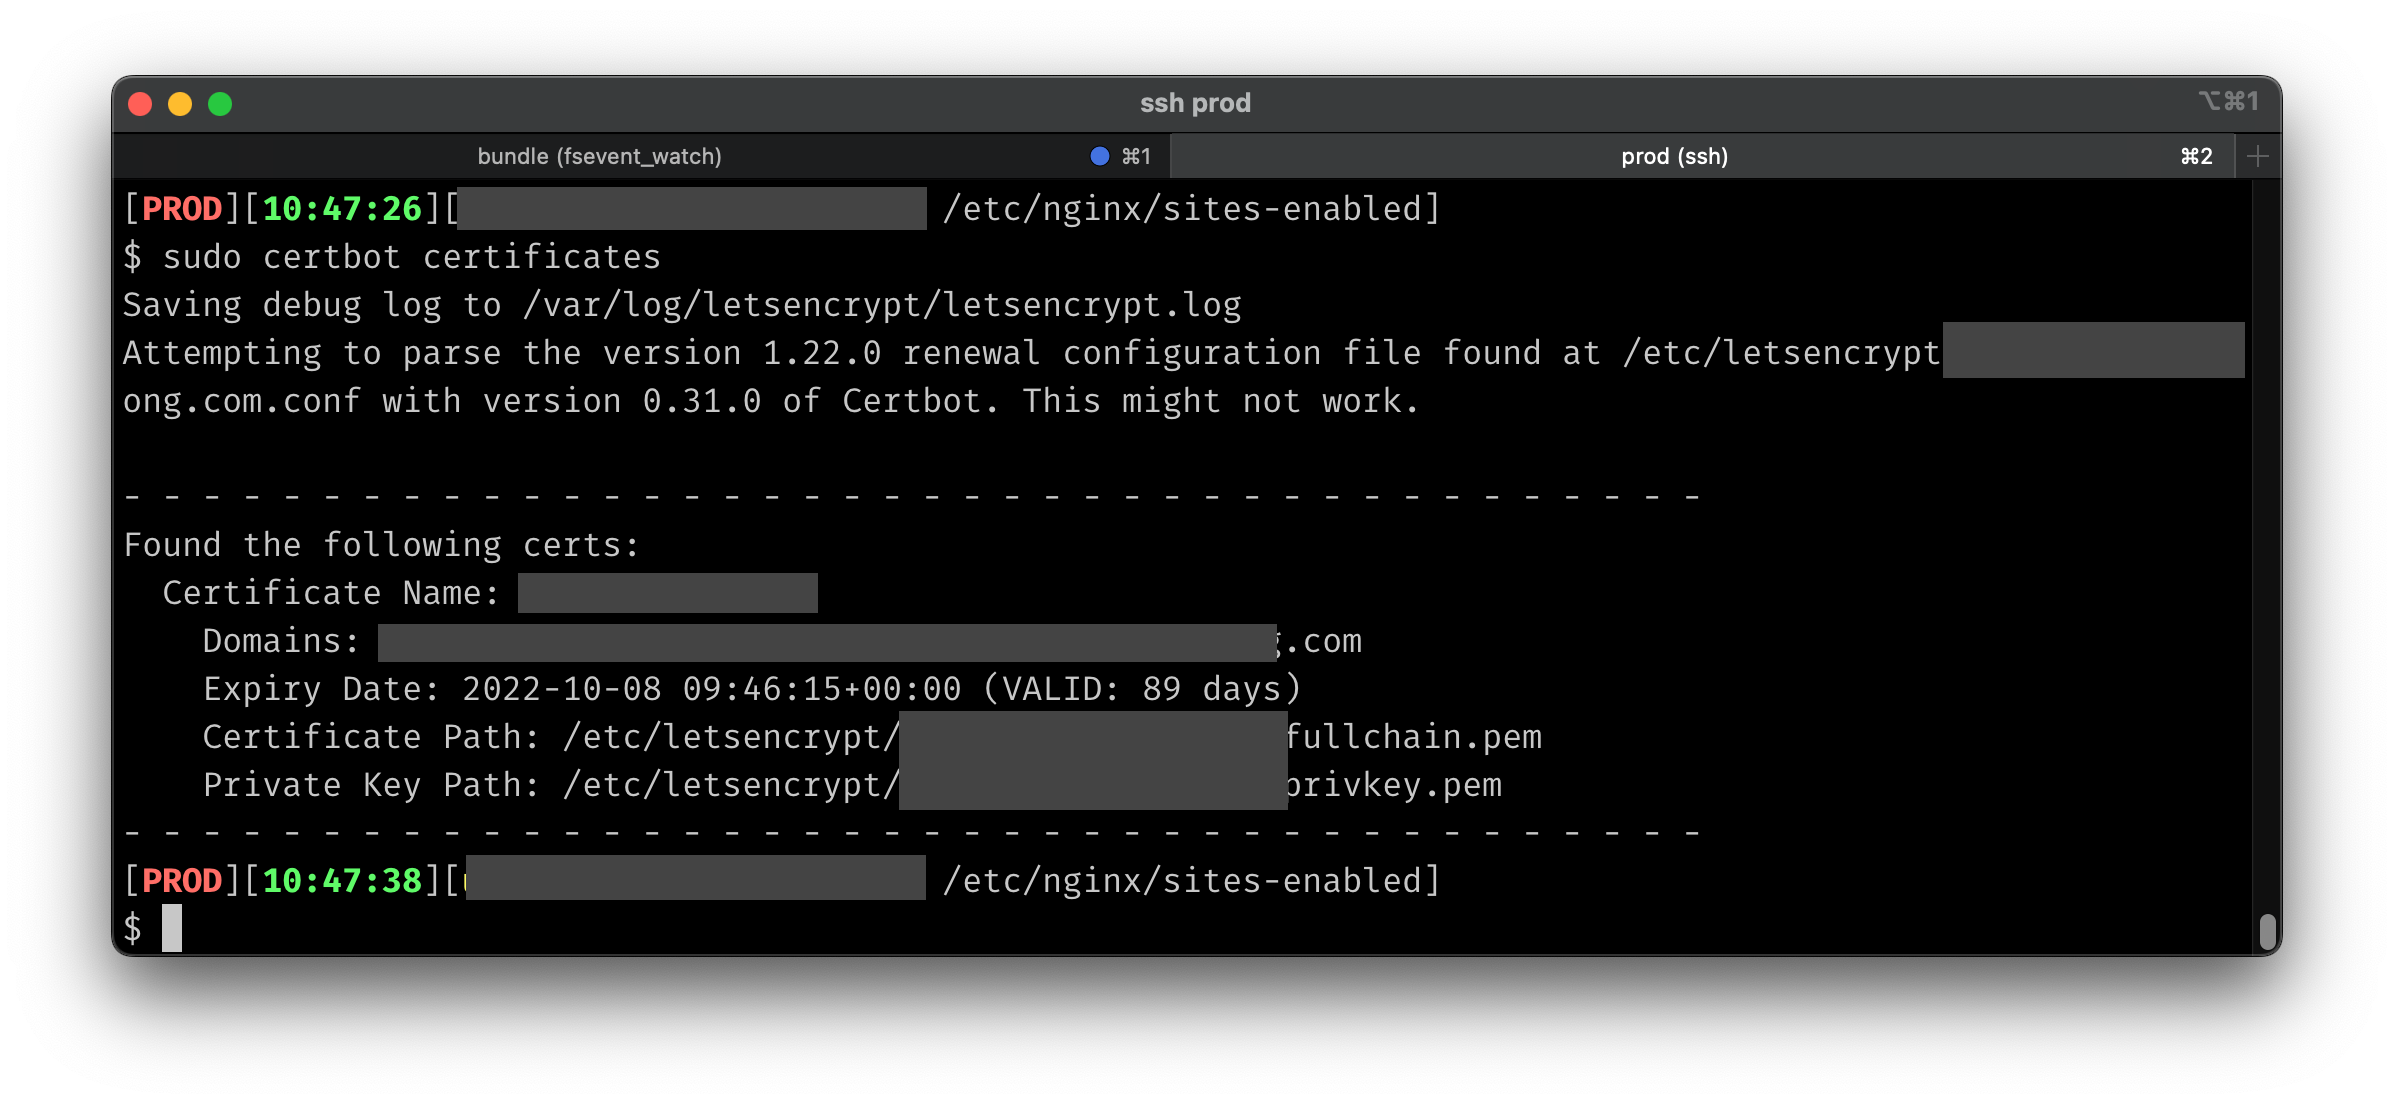
인증서가 잘 갱신되어 만료기한이 초반에 확인했던 15일에서 89일로 늘어난 것을 확인할 수 있다. 3달 뒤에 또 보자… letsecnrypt….